Wil je leren hoe je als een professional YouTube-video's kunt maken en bewerken? Het is makkelijk om te dromen over het maken van geweldige YouTube-content, maar het hele proces kan overweldigend zijn. Er is veel om over na te denken, zoals plannen, filmen, bewerken, publiceren en proberen niet op te geven. Zoek niet verder: in deze gids vindt u alles wat u moet weten. Of je nu net begint of je YouTube-game naar een hoger niveau wilt tillen: wij helpen je graag.
YouTube is een van de populairste platforms geworden om video's te delen en een groot publiek te bereiken. Met miljoenen gebruikers wereldwijd zijn er eindeloze mogelijkheden ontstaan voor makers van content om hun talenten te laten zien en hun passies te delen. Als je voor de lol een YouTube-kanaal wilt starten of een succesvolle carrière wilt opbouwen, is één ding zeker: het maken en bewerken van video's van hoge kwaliteit is essentieel.
Ben je een beginner die aan je eerste YouTube-video werkt of wil je een bestaand kanaal laten groeien? Deze gids introduceert je in een beproefde workflow voor YouTube-videoproductie. Van de planning en bewerking tot het verzamelen van feedback en het publiceren van uw content: met deze stapsgewijze handleiding navigeert u door het hele proces en maakt u aantrekkelijke videocontent die u graag wilt delen.
Hoe maak je YouTube-video's: stap voor stap
Het maken van geweldige YouTube-video's vergt meer dan alleen de opnameknop indrukken en hopen dat je iets magisch vastlegt. Voordat we in de details duiken, bespreken we de belangrijkste onderdelen van een succesvolle videoproductieworkflow:
- Planning en strategie
- Inhoudsplanning
- Uw gereedschap en apparatuur voorbereiden
- Je video filmen
- Je beeldmateriaal bewerken
- Feedback verzamelen
- De laatste hand leggen
- Uw video publiceren

1. Creëer een strategie
Videoclips zijn overal online te vinden: van korte content op TikTok en Instagram tot langere YouTube-video's en videopodcasts. In een wereld waarin het lijkt alsof iedereen content creëert, kan het lastig zijn om op te vallen.
Voordat je begint met filmen, moet je onderzoek doen en het onderwerp van je YouTube-video (en je kanaal als geheel) kiezen. Bij het bepalen van het soort video dat u wilt maken, moet u rekening houden met het volgende:
- Een specifieke passie of vaardigheid die goed op video tot uitdrukking kan komen. Kijk of er een hiaat of onontgonnen aspect is op jouw interessegebied. Het is namelijk een stuk makkelijker om op te vallen als je iets unieks doet op een bestaand interessegebied!
- Uw doelgroep en de waarde die deze video voor hen oplevert. Wat zijn hun problemen of interesses? Wat leren ze van jouw content?
Als je vastloopt, bedenk dan welk van de vier soorten video's die 'universeel' zijn als het gaat om content voor sociale media, je het liefst zou willen maken:
- Emotionele content– nieuwsberichten, recensies en reactievideo’s, voor wanneer kijkers iets willen voelen zoals vreugde, lachen, nostalgie of een verbinding met iets
- Nuttige content,zoals handleidingen, instructievideo's en recepten, voor wanneer het publiek iets wil bereiken, zoals het leren van een vaardigheid of het bereiken van een specifiek doel.
- Cijfergedreven content– infographics, peilingen en data-overzichten die inspelen op mensen die op zoek zijn naar feitelijke informatie, gepresenteerd in een boeiende video
- Op verhalen gebaseerde content– vlogs, documentaires of succesverhalen, perfect voor een publiek dat zich aangetrokken voelt tot verhalen die inspireren, informeren of gewoon vermaken.
Je kunt er ook voor kiezen om onderzoek te doen met behulp van hulpmiddelen als Google Trends, Semrush of de zoekbalk van YouTube, zodat je inzicht krijgt in waar mensen naar zoeken. Documenteer je bevindingen en bewaar ze veilig in de cloudopslag, waar ze toegankelijk zijn vanaf elk verbonden apparaat.
2. Plan uw inhoud
Je kunt beginnen met een schets voor je video en de details improviseren tijdens het filmen. Dat is geweldig als je er vertrouwen in hebt! Met een overzicht krijgt uw video focus en structuur, maar u kunt dit eventueel uitwerken tot een gedetailleerder script.
Een storyboard is een creatieve manier om de contouren van je video te visualiseren. Het bevat informatie zoals:
- Tekeningen, schetsen, afbeeldingen of foto's ter representatie van elk frame
- Een beschrijving van de opname (zoals de camerahoeken, belichting, dialoog en actie)
- Pijlen om de beweging van de camera/het personage aan te geven of om te laten zien hoe elk frame met het volgende verbonden is
- Specificaties van de opname, zoals de grootte, lenslengte en compositie
3. Bereid uw gereedschap en apparatuur voor
Zodra je klaar bent met je plan voor het maken van content, is het tijd om de apparatuur te verzamelen die je nodig hebt om je nieuwe video op te nemen.
Hoewel het tegenwoordig niet meer nodig is, omdat de camera's en microfoons van mobiele telefoons zulke hoogwaardige opnamen maken, kunnen de volgende opnamehulpmiddelen uw video's aanzienlijk verbeteren:
- Een DSLR of systeemcamera van goede kwaliteit
- Een microfoon, zoals een USB- of lavaliermicrofoon
- Een statief of stabilisator
- Een ringlamp of softbox verlichting
Als je nog helemaal nieuw bent in het maken van content, kun je het beste met kleine stapjes beginnen. Soms duurt het even voordat je gewend bent aan de geavanceerde technologie. Tegenwoordig kun je veel doen met een schermopnameapparaat, je mobiele telefoon of een webcam.
4. Film je video
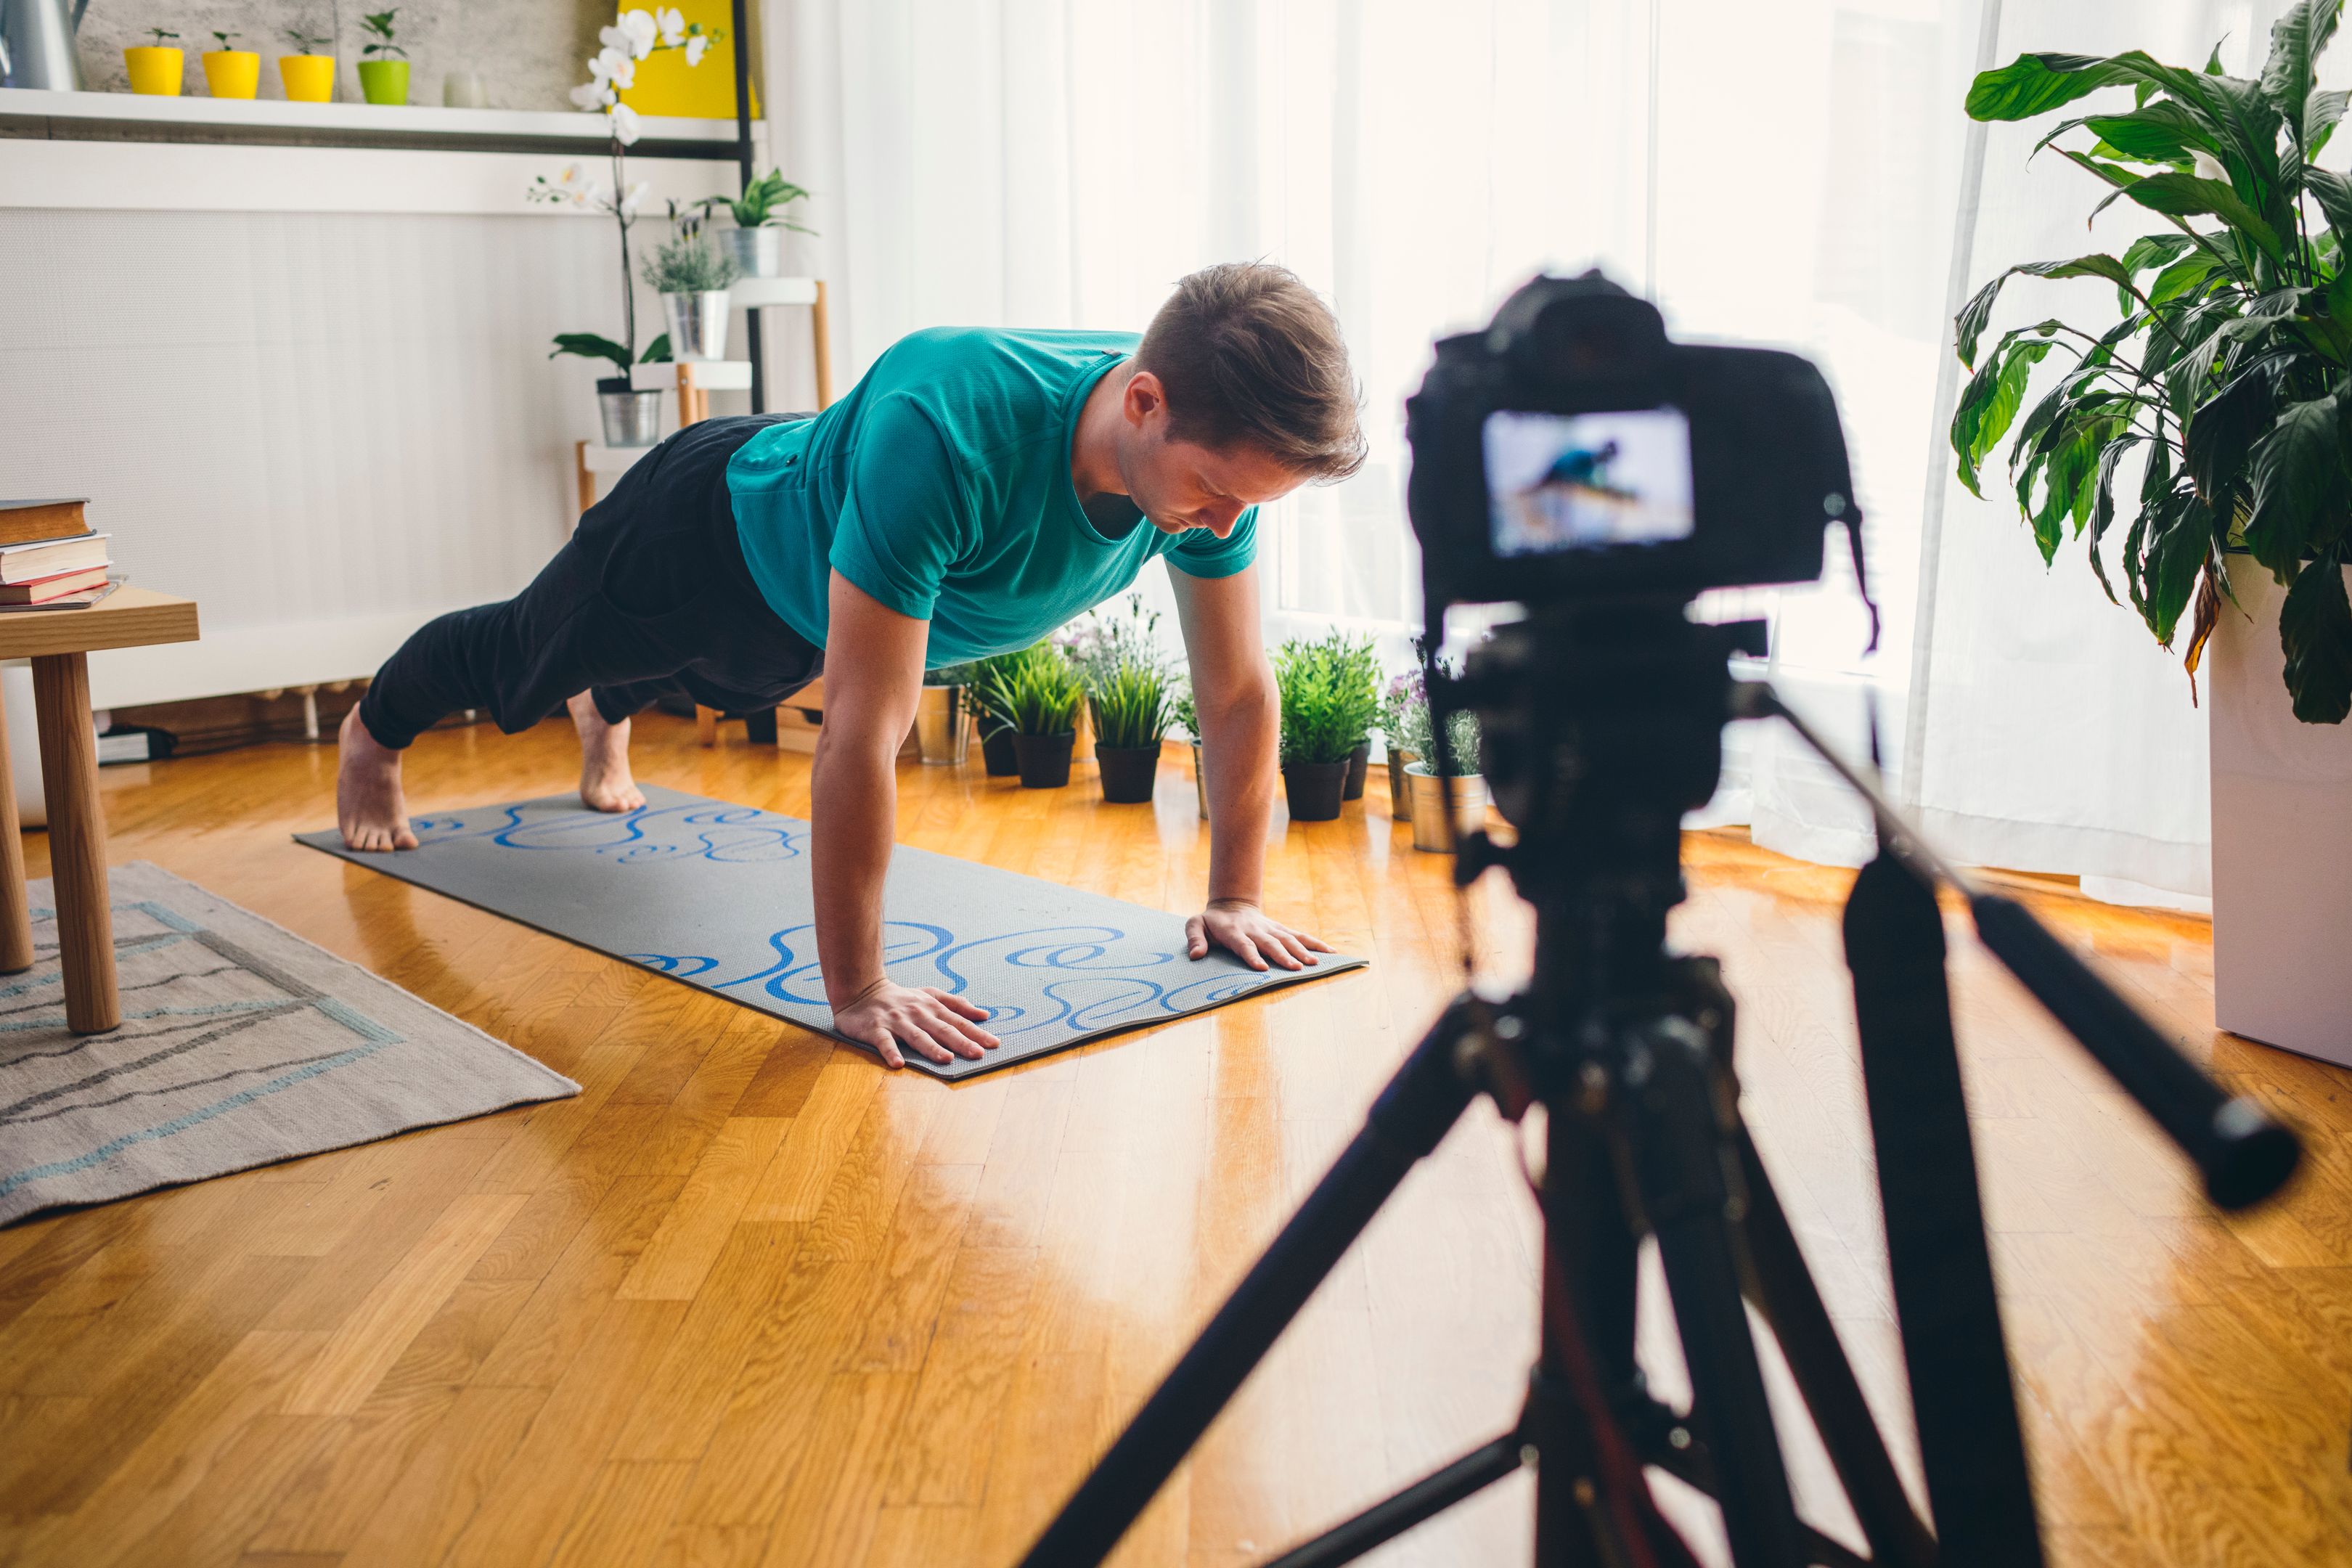
Misschien wilt u uw video eerst testen voordat u hem definitief opneemt. Op die manier kunt u aantekeningen maken over wat wel en niet werkt, en indien nodig aanpassingen doorvoeren.
De eerste keer dat je jezelf opneemt, kan een vreemde ervaring zijn. Maar naarmate je het vaker doet, wordt het steeds makkelijker. Probeer ontspannen te blijven en stop de opname niet, ook al maakt u een fout. U kunt de fouten later altijd nog verwijderen.
Hier zijn een paar tips waar u rekening mee moet houden tijdens het filmen van uw video:
- Maak je ruimte vrij van rommel: hoe minder afleidingen voor je publiek, hoe beter.
- Controleer of uw apparatuur, en met name uw camera, goed werkt, volledig is opgeladen en uw lens vrij is van vlekken.
- Opnemen in een rustige omgeving zonder achtergrondgeluiden
- Plaats uw camera zo dat u zich in het midden van het kader en op ooghoogte bevindt
5. Bewerk je beeldmateriaal
Tijdens het videobewerkingsproces kun je je ruwe beelden omzetten in een boeiend en aansprekend verhaal voor je kijkers.
Als u uw opnamen op uw telefoon, tablet of computer hebt gemaakt, beschikt uw apparaat mogelijk al over een ingebouwde videobewerkingstool die u kunt gebruiken, zoals iMovie voor Mac.
Als je echter de kwaliteit van je video wilt verbeteren en ervoor wilt zorgen dat deze er zo professioneel mogelijk uitziet, kun je het beste kijken naar geavanceerdere platforms zoals Adobe Premiere Pro, Apple Final Cut Pro en Blackmagic Design DaVinci Resolve. En wanneer je video klaar is om te worden beoordeeld, worden deze hulpmiddelen geïntegreerd met Dropbox Replay. Zo kun je rechtstreeks vanuit Replay feedback geven in de editor.
Belangrijke zaken om op te letten tijdens het videobewerkingsproces zijn:
- Trimfouten
- Voeg niet te veel geluiden, cuts en overgangen toe
- Zorg ervoor dat uw audio van goede kwaliteit is
- Voeg passende muziek toe
- Verlichting aanpassen met kleurcorrectie

6. Verzamel feedback
Feedback is een belangrijke, maar vaak verwaarloosde stap in het videoproductieproces.
Het delen van uw bewerkte video met vertrouwde collega's is een uitstekende manier om een frisse blik op uw content te krijgen. Reviewers kunnen wellicht specifieke dingen identificeren die opnieuw bewerkt, verplaatst of helemaal geschrapt kunnen worden.
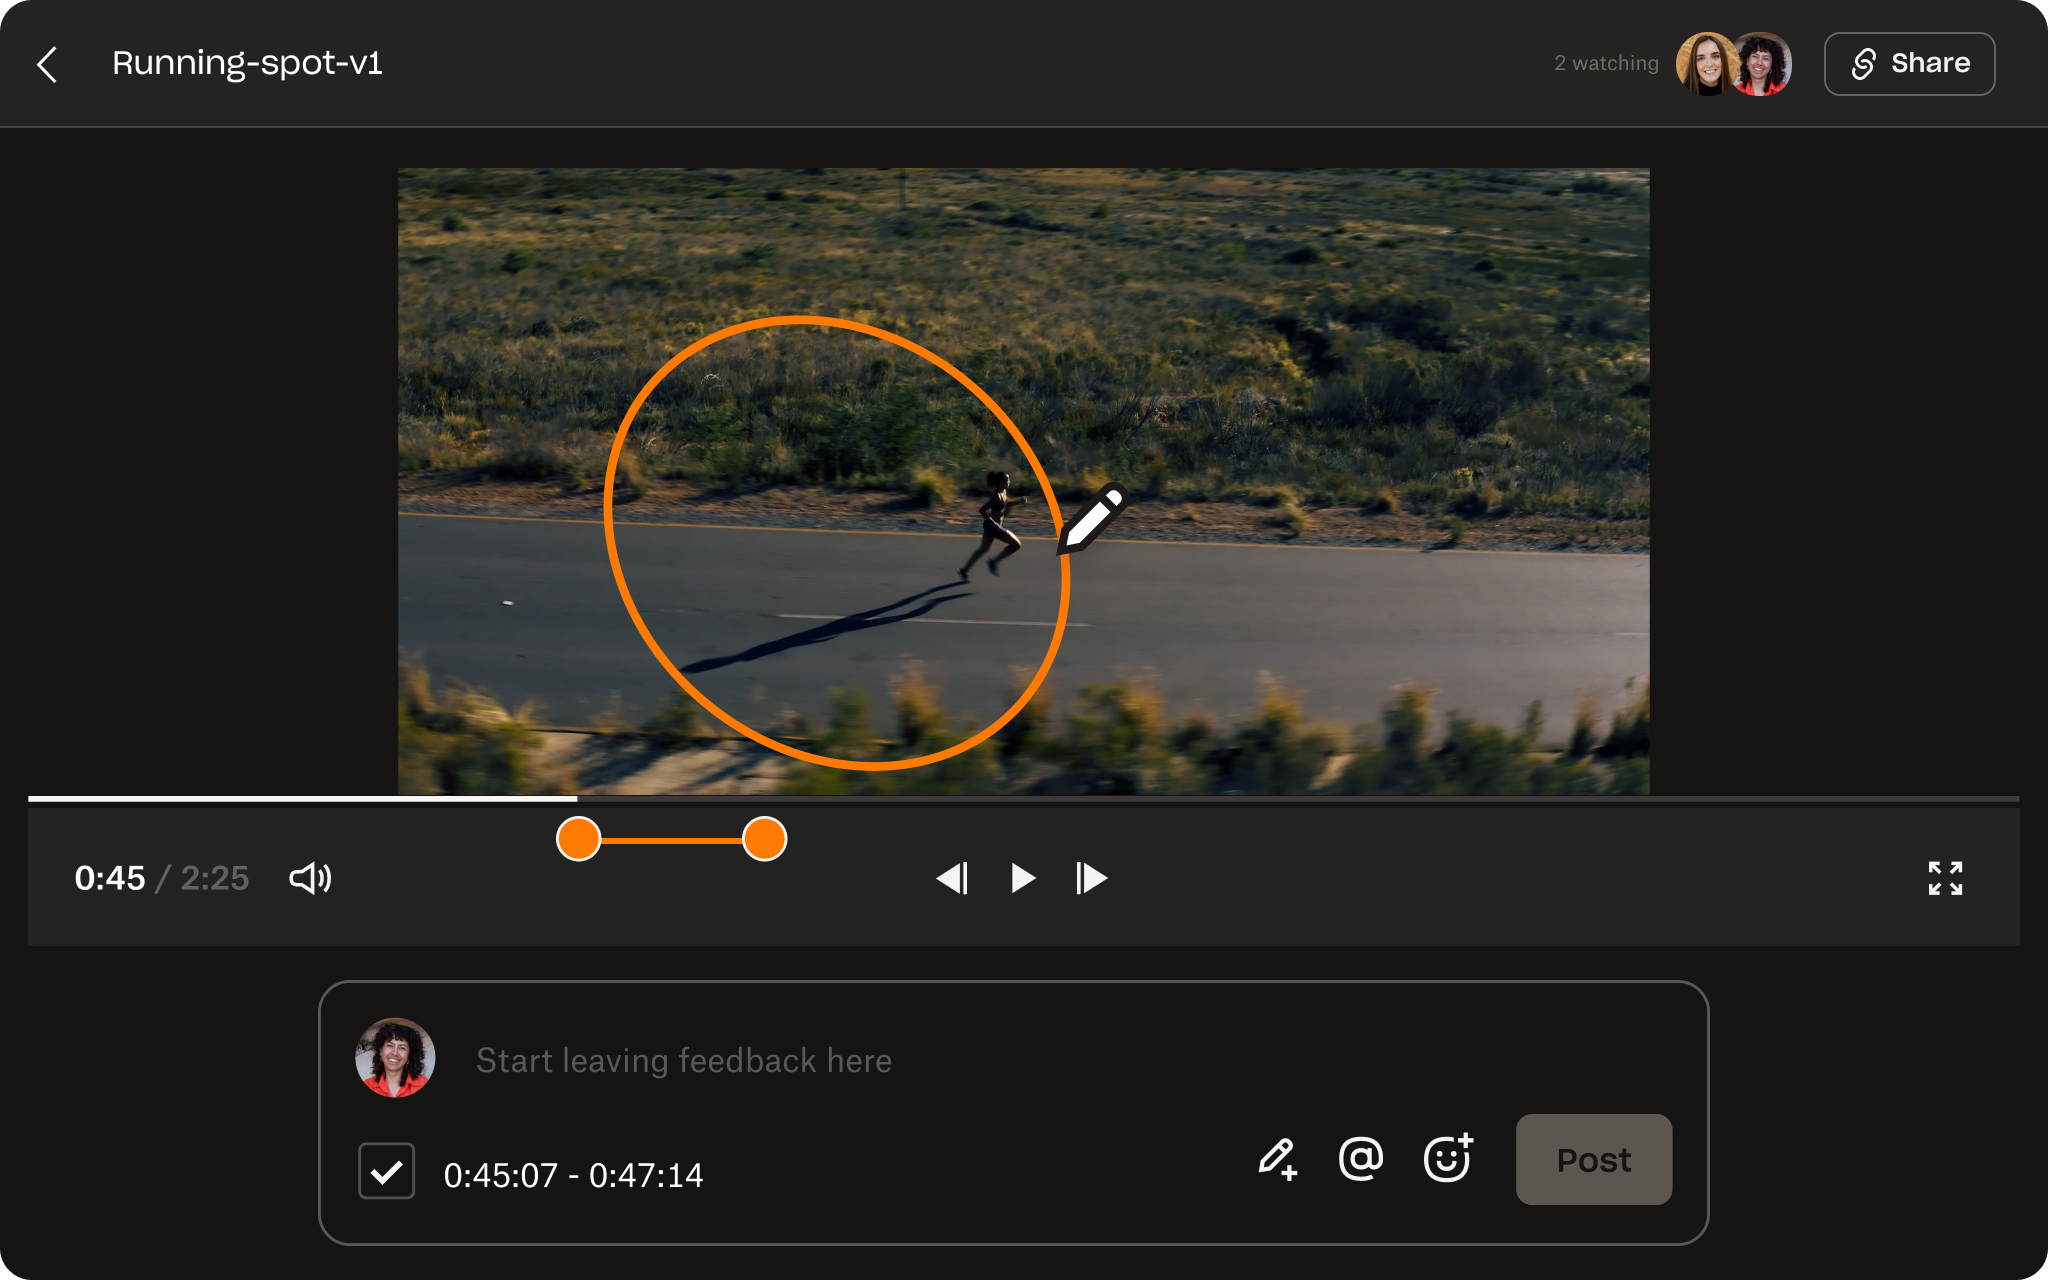
Met hulpmiddelen als Dropbox Replay hoef je je geen zorgen meer te maken over verspreide feedback of lange chatthreads. Met Replay kunnen je reviewers nauwkeurige, effectieve en van een tijdstempel voorziene feedback rechtstreeks op de video plaatsen. Opmerkingen kunnen direct naar je video-editor worden geëxporteerd, zodat ze als markeringen worden weergegeven en je eenvoudig kunt zien waar wijzigingen nodig zijn.
Met Replay kunt u bovendien gemakkelijker verschillende versies van uw video bijhouden. Nadat u uw wijzigingen hebt aangebracht, kunt u uw video direct vanuit uw videobewerkingssoftware als nieuwe versie uploaden naar Replay. U kunt de video dan opnieuw delen en zo aanvullende feedback krijgen. Vervolgens kunt u in Replay twee versies naast elkaar afspelen, zodat u kunt verwijzen naar wijzigingen of updates in uw video.
7. Maak de finishing touch
Voordat je je video op YouTube publiceert, zorg je ervoor dat je een intro aan je video toevoegt en een pakkende videominiatuur. Zorg ervoor dat deze eenvoudig is en dat jij erin voorkomt.
Je kunt ook overwegen om een outro toe te voegen waarin je je publiek aanmoedigt zich te abonneren op je kanaal of een vergelijkbare oproep tot actie te plaatsen.
Zorg ervoor dat je video voldoet aan de technische specificaties van YouTube, zodat je video op verschillende apparaten goed wordt weergegeven. In het bijzonder:
- Beeldverhouding: 16:9
- Maximale videobestandsgrootte: 128 GB
- Maximale videolengte: 12 uur
- Geaccepteerde videoformaten: .mov, .mpeg, .mp4, .avi, .wmv, .mpegps, .flv, .webM, .3GPP
- Videoresolutie: een aanbevolen minimum van 640x480 voor een beeldverhouding van 4:3, 1280x720 voor een beeldverhouding van 16:9, maar er is geen minimum vastgesteld
8. Publiceer je video
Zodra je video is bewerkt en klaar is om te bekijken, is het tijd om deze te uploaden naar je YouTube-kanaal! Dit is een relatief eenvoudig proces, dat je rechtstreeks vanuit je YouTube-account kunt doen, op je mobiel of desktop.
Zorg ervoor dat uw video de volgende details bevat:
- Een trefwoordrijke en relevante titel
- Een beschrijving die context geeft aan de video en de titel verder uitwerkt
- De aangepaste miniatuur die u eerder hebt gemaakt
- Publiek - vereist als onderdeel van de Children's Online Privacy Protection Act (COPPA)
- Eventuele leeftijdsbeperkingen

Hoe optimaliseer je video's voor YouTube
Hier zijn enkele tips om uw video's voor YouTube te optimaliseren:
- Optimaliseer uw video voor SEO door uw trefwoord in de titel en videobeschrijving op te nemen, maar misleid kijkers niet.
- Zorg dat je stijl consistent is in video's en miniaturen: een herkenbare look zorgt ervoor dat het publiek je content gemakkelijk kan herkennen
- Moedig kijkers aan om te liken, commentaar te geven en zich te abonneren
- YouTube transcribeert video's, dus zorg ervoor dat je je trefwoord in je voice-over of dialoog gebruikt
- Maak je video langer: YouTube gebruikt 'totale kijktijd' en 'totale sessietijd' als rankingfactoren en plaatst langere video's hoger in de zoekresultaten.
- Kies sterke, relevante trefwoorden voor uw tags
- Houd je aan een schema: consistente, regelmatige uploads zorgen ervoor dat je kijkers terugkomen voor meer
- Organiseer je video's in afspeellijsten, zodat kijkers ze gemakkelijker op je kanaal kunnen vinden
Verbeter uw YouTube-video's met Dropbox Replay
Er komt veel meer kijken bij het maken van YouTube-content dan alleen het opnemen van de beelden. Om opvallende, kwalitatief hoogwaardige YouTube-video's te maken, is een uitgebreide aanpak nodig die planning, filmen, bewerken, optimaliseren en promoten omvat. Al deze elementen spelen een belangrijke rol bij het creëren van content die niet alleen kijkers trekt, maar ze ook terug laat komen voor meer.
Met Dropbox Replay kunnen beginnende YouTube-makers meteen goed aan de slag, doordat feedback vanaf het begin wordt verwerkt in de bewerkingsworkflow. Met Replay kun je eenvoudig feedback verzamelen, wijzigingen aanbrengen en revisies bijhouden, allemaal binnen één platform. Begin vandaag nog met Dropbox Replay en til je YouTube-video's naar een hoger niveau!


